Tuesday, May 8, 2012

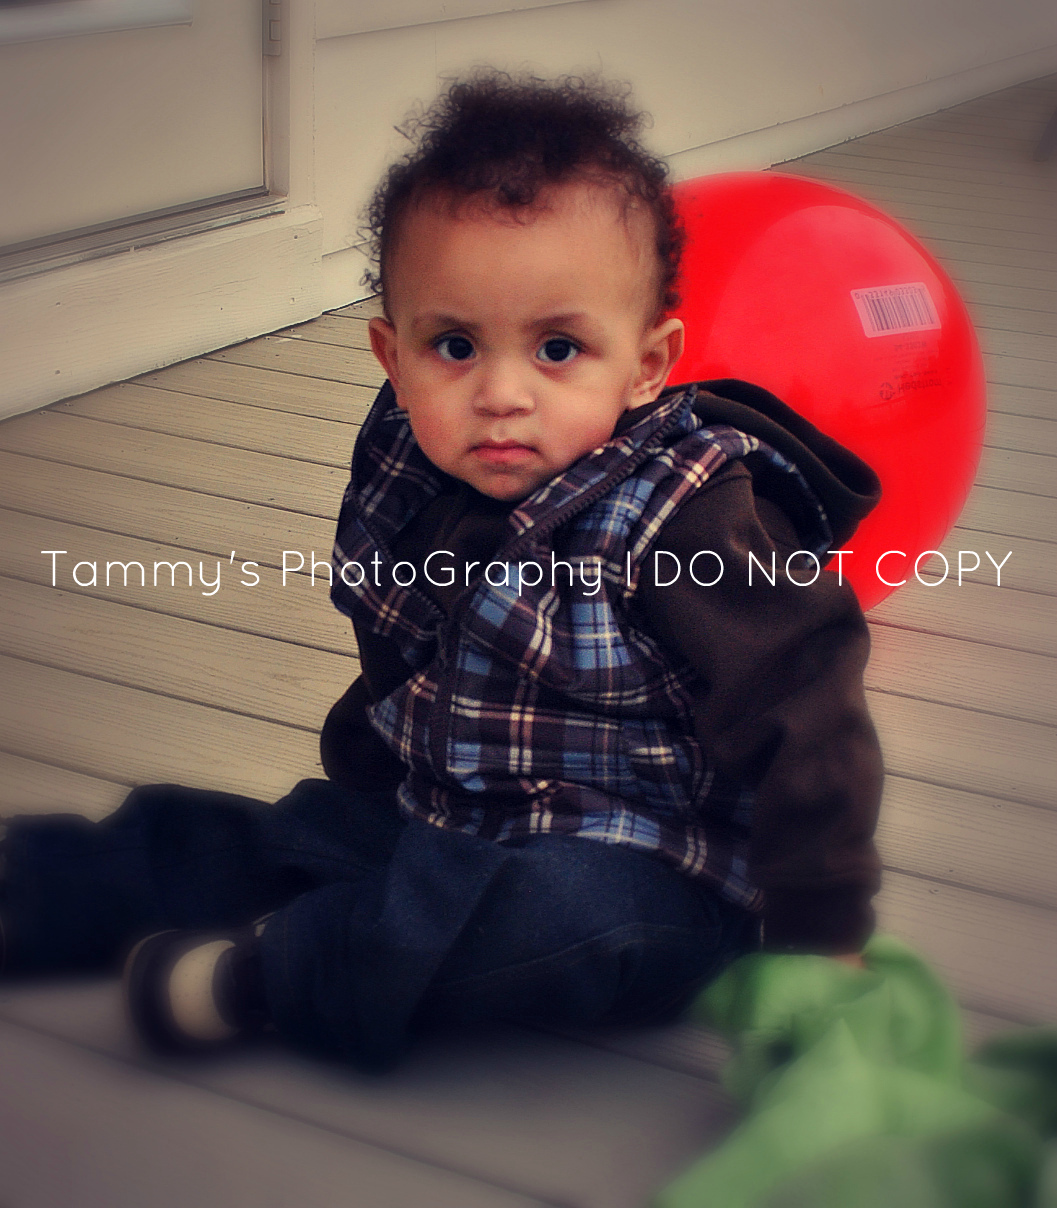
Tips & Ideas for taking Baby Photos

It’s highly recommended to use a natural lighting and set your ISO to 200 if there’s enough of it. And always go for the indirect lighting which helps make softer shades and all round tones on the babies skin. Learn to turn off the flash and take perfectly good pictures in low-light conditions.

Think beyond color, since you will probably make some black and white photos of your little one to have timeless use romantic quality pictures. Thus, you’ll come out with even more soft and smooth look with a high clarity level.

Take some great close-up shots trying to get as much background busyness out of the way. Sometimes, it’s better to tight the photo and get rid of too much space around the baby. Don’t worry about getting everything in the picture – small pieces can also look great.

Try photographing babies at their level because shooting at eye level is a good rule of thumb. That will put you in the baby’s world and gives the ability to interact with her with a good eye contact.


Friday, May 4, 2012

Things to keep in mind when having a Session

Children sessions are always about having fun! I encourage running, jumping, playing, and lots of laughter!! When my cheeks hurt from laughing so much I would say we had a great session then!   Children do better when fed and well rested too, so try and schedule with those things in mind.  I will bring some props with me, but please feel free to bring a favorite toy, or anything that you think would be fun to add to the photos.

Oh, and a little bribery never hurt anyone either! So if you feel that a little snack will help with the kiddos…I say go for it!

This is completely your choice. as to what to wear in the photos, but be yourself!!  For example, if you never wear a suit and tie, then don’t start now.The photos will show how uncomfortable you are. I love anything fun and colorful…just try not to over do it. We want to capture YOU, not your outfit.

Sunday, April 29, 2012

How to Make a Custom Diaper Cake

These are no ordinary diaper cake, friends. These are super cute, custom, and stuffed with goodies for the mom-to-be!
Your first step is to gather all of your cake-making ingredients:
{20} Size 3 Diapers
{15} Size 2 Diapers
{10} Size 1 Diapers
{1} Bottle
{1} Baby Toiletry Pack
{1} 14" Round Cake Board
{3} Rubber Bands
Ribbon
Tulle or Fabric to Cover Cake Board
{1} Butterfly or Fairy Wings
{1} Tutu
{2+} Crochet Headbands
{2+} Flower Clips
{1} Topper of your Choice
{3} Round Cake Pans (10", 8", 6")
{1} Dow Rod
Hot Glue Gun

First, grab the 10" cake pan and size 3 diapers. Fan the diapers out and fill around the outside of the pan, this should take about 20 diapers. Make a hole in the center and place the bottle into the middle of the layer. Put a rubber band around the diapers to hold them together and once they are secure, remove them from the pan. 

For the second layer, you'll use the 8" cake pan and size 2 diapers. Use the same technique to construct this layer, except leave a hole in the middle for the top of the bottle to fit in. Again, once your rubber band is secure, remove the diapers from the pan. You are now able to stack this layer on top of the bottom layer.
Now make the top layer with the 6" round pan and the size 1 diapers. Fill this pan as you did before, but do not leave a hole. This will be a tight fit and you'll need to fidget with it to make it work!
Your cake is made, now you get to decorate it! 
Wrap each layer with ribbon. On this cake, we used a 2 1/2" wired ribbon, but any ribbon will work. Measure about 1-2 inches longer than each layer. Pull the ribbon tight around the diapers and glue. Be sure to glue the ribbon to the ribbon, not the diapers!! You'd like the diapers to still be usable when you gift them. 
Open the tutu and lay it on top of the bottom layer. (It'll be between the bottom two layers.) Tuck the tutu around the bottle until it sticks out almost straight.
Carefully secure the layers with a dowel rod. Put it through the middle of the cake, making sure not to damage the tutu. Be sure the top is tucked down into the top layer so you can't see it. 
Wrap the crochet headbands around the ribbon on the top and middle layer.
Get the wings and wrap the straps around the top layer of the cake. You'll need to move the crochet headband down, and then move it back up to cover the straps. 
Add flower clips to the crochet headbands. You can use two on the front, or use several around the cake. 
Add the topper. You can use anything: a toy, stuffed animal, tiara, etc. We used a pair of ballerina slippers, a 2.75" crochet headband, and a flower clip. We folded the headband and clipped the flower to it. Then we clipped the flower to the wings, centering the flower. Next, we added the shoes and secured it in place with some double sided tape. 


Finally, move on to the cake board. You can decorate it however you'd like. Use fabric or tulle, paper or crinkled paper grass. 


Place the cake on top of the board. As an added bonus, we like to add travel sized toiletries to the board. (You can see some baby wash peeking out on the final picture.) This is just so that mama gets a couple more gifts at her shower! Use a small dab of glue to secure each bottle to the board. 

And there you have it! An amazingly cute and custom baby shower gift!